loader
  • Cross stitch Biscornu Patterns | Embroidery | Cross stitch Accessories | Gifts for Stitchers

Cross Stitch: The Basic Structure for a Neat Finish

  Welcome to the third post in my series “My First Stitches”, where we’ll go step by step through the basics of cross stitch so you get beautiful, even results from the very start.

  After preparing your fabric and learning how to start your thread, the most exciting moment arrives: making your first crosses. Cross stitch looks simple, but it has its little secrets — the way stitches are formed and crossed affects the finish. A well-built structure is the difference between a correct stitch and a truly lovely piece.

  In this post I’ll show you how to make a full cross stitch, step by step, with all the details you need to learn confidently from the beginning. And if you’re already experienced, you may spot something you hadn’t noticed or add a tip I missed. The idea is that anyone starting out will have all the information to fall in love with their results from the very first stitches.

❌ The Full Cross Stitch

   Each cross stitch is made up of two diagonal stitches that cross right in the center of the fabric square.

   Before you begin, thread your needle with two strands of floss and secure it using any of the anchoring methods I showed you in the previous post. This gives you a clean, firm start and lets you stitch comfortably as you form your first crosses.

1️⃣ First stitch: bring the needle up from the bottom left corner and down through the top right corner.
2️⃣ Second stitch: now cross from the bottom right corner to the top left, forming a perfect “X.”

   This example shows the direction I usually use, but the orientation of the stitches is entirely up to you — each stitcher can choose what feels most natural. Many of us prefer this direction because the first stitch follows the same movement as we stitch across the fabric, from left to right. But this is simply a habit, much like the way we write. In fact, left-handed stitchers often feel more comfortable beginning with a diagonal from bottom right to top left, then crossing from bottom left to top right.

   That said, what truly matters is keeping the same order throughout your entire piece. This consistency makes the surface reflect light evenly, giving your embroidery a neat, professional look.

❌❌❌ In-line technique: stitching several crosses in a row

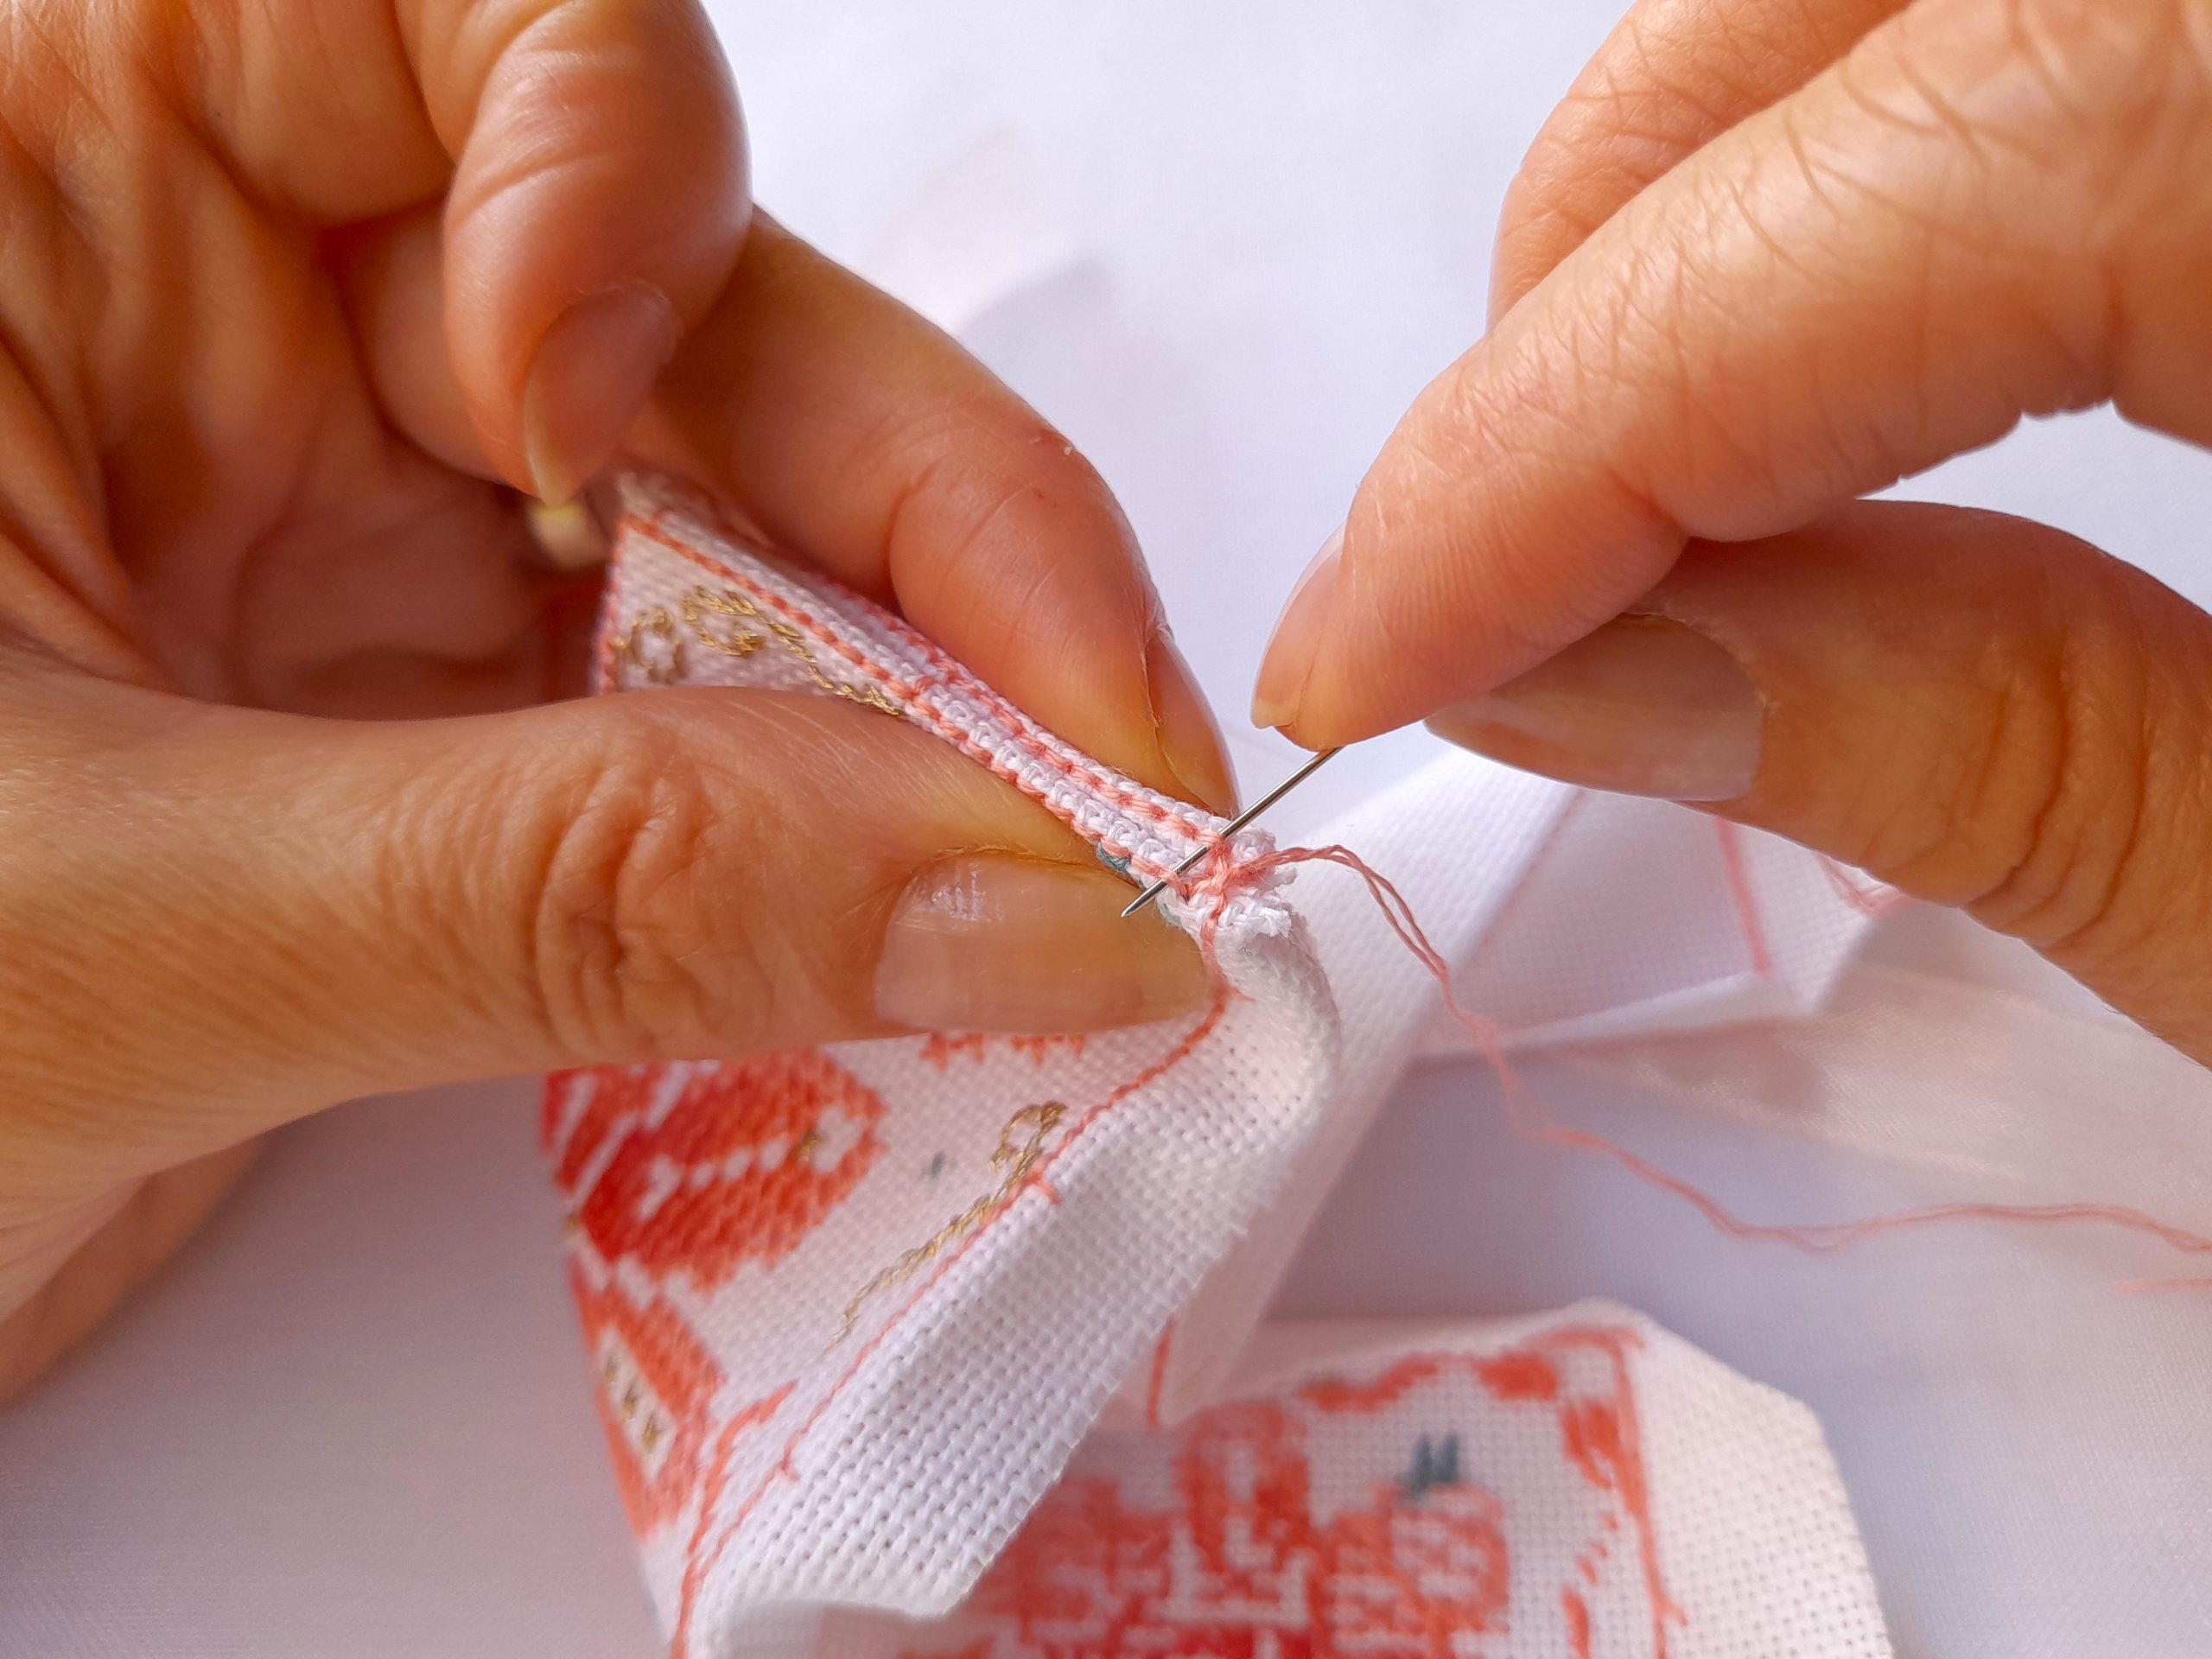
   Now that you know how to make a single, complete cross stitch, you can move on to the in-line technique — perfect for stitching when the crosses are close together, forming horizontal or vertical rows.

   In this method, you first stitch a row of half crosses in one direction (for example, from bottom left to top right), then go back completing the crosses in the opposite direction.

   This technique has several advantages:

  • It’s faster than making one stitch at a time.

  • It helps keep the back of your embroidery neater.

  • It makes it easier to maintain even tension across the whole row.

   The key remains the same: always keep the same stitch direction you chose at the start, so the light reflects evenly and your work looks neat and uniform.

🪢How to Ensure Even Tension

   Thread tension is one of the most important factors for achieving neat, uniform cross stitches. If the thread is too tight, the stitches will look stiff and the fabric may distort. If it’s too loose, the stitches lose their shape and the embroidery appears uneven.

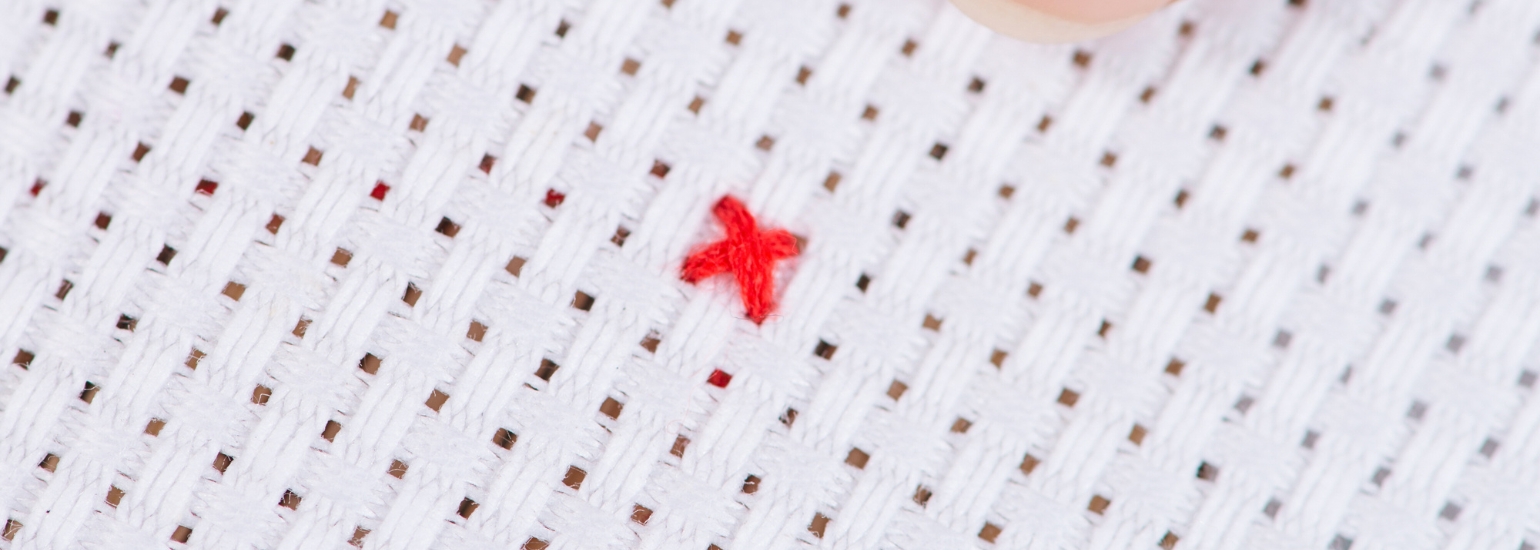
   The key is to stitch gently, letting the needle and thread glide without forcing them. A useful trick is to observe how the crosses sit: they should lie flat, neither sinking into the fabric nor sticking up. With a little practice, your hands will naturally find the right tension.

Dos and Don’ts

✅ Do:

  • Work in a well-lit area to appreciate colors and texture.
  • Keep the same stitch direction throughout.
  • Check your tension frequently. If a stitch feels too tight, relax the thread and gently tug the completed stitch to loosen it slightly.
  • Try to keep the back tidy and free of large knots.

🚫 Don’t:

  • Stitch in different directions.
  • Skip long lengths of thread at the back.
  • Use twisted or fraying thread.
  • Pull the thread forcefully when adjusting a stitch.

🪡 The Secret to a Smooth, Twist-Free Thread

   As you stitch, the thread tends to twist, which can make the stitches lose their shine, cause the strands to misalign, reduce uniformity, or even form knots. To prevent this, it’s helpful to pause occasionally and untwist the thread. You can do this in two ways:

  • Gently rotate the needle between your fingers in the opposite direction of the twist.
  • Let the needle hang freely at the end of the thread so the twist can unwind naturally.

   The frequency of these little pauses depends mainly on the length of your thread. Shorter strands twist more quickly, and the twists tend to concentrate near the points where the thread enters and exits the fabric. If you notice this, take a moment to let the thread relax — your embroidery and the thread’s shine will thank you.

➖ Backstitch: The Finishing Touch That Enhances Your Design

   The backstitch is a simple yet very important stitch in cross-stitch embroidery. It’s used to define outlines, draw fine details, or add small decorative accents that bring your design to life. In this case, the floral motif in this post features a backstitch border worked with a single strand of floss, giving it a delicate and elegant finish.

   To do it, follow these steps:

1️⃣ Thread your needle with a single strand of floss and secure it using your preferred anchoring method.
2️⃣ Bring the needle up through the fabric at the point where you want to start the line.
3️⃣ Make a stitch forward, inserting the needle into the fabric at the desired distance (for example, one fabric square).
4️⃣ Bring the needle up at the point where the next stitch will end, moving in a straight line.
5️⃣ Insert the needle backward, exactly at the end of the previous stitch, completing each segment.

   Each new stitch goes back over the previous one, forming a continuous and precise line.

   Watch the video for a clearer demonstration of this simple and useful stitch.

 ✨ Let’s Practice a Little

   Now that you know the structure of the cross stitch, backstitch, thread tension, and stitch directions, it’s time to put it into practice! I’ve prepared a small chart so you can practice your first stitches with me, step by step. In this exercise, we’ll focus on:

1️⃣ Starting your thread using your preferred anchoring method.
2️⃣ Stitching the first isolated crosses.
3️⃣ Continuing with a row using the in-line technique.
4️⃣ Observing how the tension behaves and how the shine changes depending on the stitch direction.

   You can follow the chart included with this post and repeat the exercise as many times as you like. You’ll see that, in no time, your crosses will be perfectly even with a professional finish.

   To put everything you’ve learned into practice, I’ve prepared a little gift: a free chart featuring a purple-toned flower surrounded by a green frame. It’s a design meant to be enjoyed at a relaxed pace while you get comfortable with the rhythm of cross stitching. You can download the PDF below.

📄About the Downloadable Chart

The PDF file includes three pages, one for each language:

1️⃣ English
2️⃣ Español
3️⃣ Français

   Each page contains the same design in three different chart versions, so you can choose the one that works best for you:

  • With color blocks.
  • With black-and-white symbols.
  • With symbols over color, ideal for those who prefer a more visual reference.

   Below the chart, you’ll find a clear legend with all the necessary information: the number of strands to use, and the DMC and Anchor color numbers, so each stitcher can choose their preferred threads.

🖨️ Note: Please print only the page in the language you are most comfortable with. This way, you’ll save paper and ink and have a chart perfectly suited to you.

ℹ️ How to Follow the Chart Step by Step

1️⃣ Prepare your fabric and thread the needle.
Use two strands of floss and secure the start with your preferred anchoring method. If it’s your first time, the loop method can be the easiest.

2️⃣ Start with the first stitch.
Stitch a single cross following the structure we’ve learned: first the diagonal in one direction, then the crossing diagonal. Notice how the perfect “X” forms.

3️⃣ Continue with a row.
Make several half-crosses in the first direction, then return completing the crosses on the way back. This lets you practice the in-line technique and see how tidy the back stays.

4️⃣ Check the tension.
Ensure all crosses are the same height and the fabric isn’t puckered. If a stitch feels too tight or too loose, adjust the pressure on the next stitch.

5️⃣ Observe the shine.
Place your embroidery under light and watch how the crosses reflect it uniformly when all stitches follow the same direction. It’s a small reward showing you’re on the right track. ✨

🌼 Workshop Tip

   Take your time and enjoy every stitch. Checking your tension, untwisting the thread, and keeping all crosses in the same direction may feel like a lot at first, but these little habits will make your embroidery look consistent, neat, and harmonious. With regular practice, these steps will become second nature.

💌 What’s next?

   If you want to keep learning, I invite you to visit the beginner section of my shop, where you’ll find more simple patterns to practice and perfect your stitches. Also, subscribe to my newsletter to receive new lessons on different embroidery stitches, practical tips, and articles about this wonderful world of embroidery. I look forward to seeing you there!


📌Save this post to have it handy for your upcoming projects, and share in the comments how your cross-stitch practice went — I’d love to read about your experiences and see your progress!

Skip to content